51

 Re: Vacuum modification Sat Dec 24, 2022 11:25 am
Point-Seven-five
Life time member

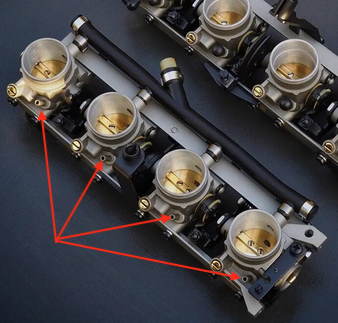
Duck, it's possible that having multiple throttle body vacuum connections might unload the vacuum quicker when the throttle is snapped open allowing fuel pressure to rise a little faster. This might have some positive effect on the throttle lag on some bikes like my K75RT.
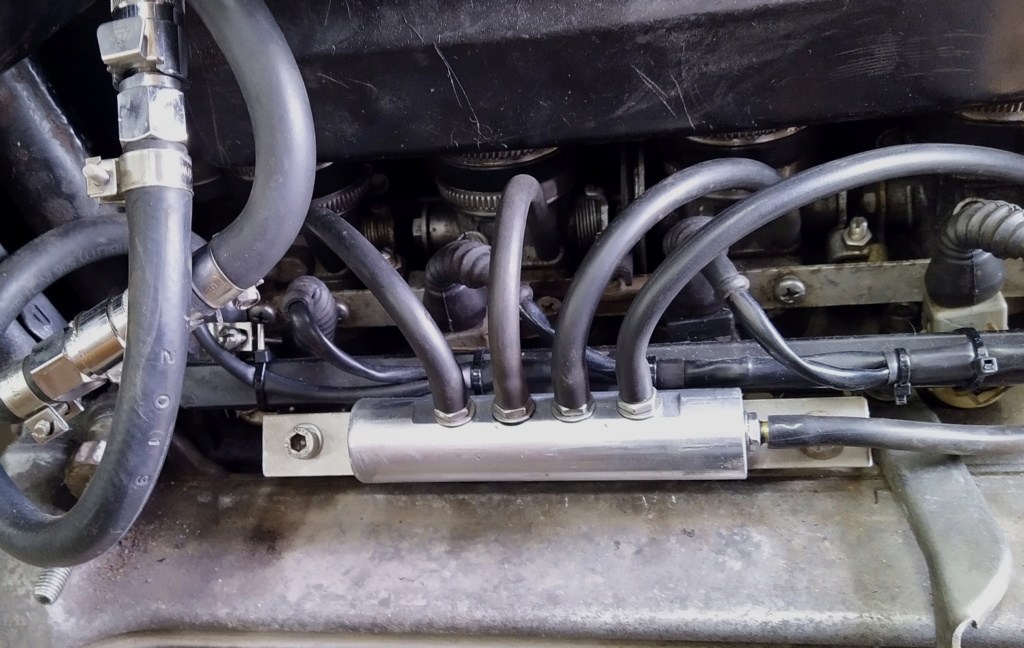
I am going to try it, but will just do it with tubing and tee fittings at first. The idea being that less volume will help response.
I am going to try it, but will just do it with tubing and tee fittings at first. The idea being that less volume will help response.