1

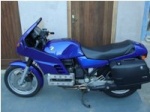
 My 1988 K100LT (renovation) Tidy - up!! Mon Jan 03, 2011 4:59 pm
Leon

active member

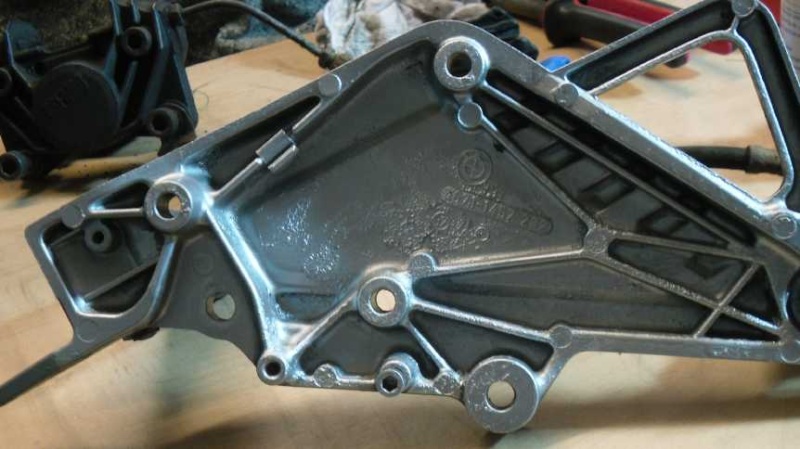
I decided today to start on righting the wronges on the bike and shorten the big list of jobs I need to do to make the bike roadworthy / reliable for the spring. Plus as well to look smart! I didnt know where to start at first, undecided which job to tackle first. So I made a pot of tea and went into the garage and messed about cleaning and prepairing the engine cases with steel wool to take off the corrosion and old paint and to get me motivated so to speak.
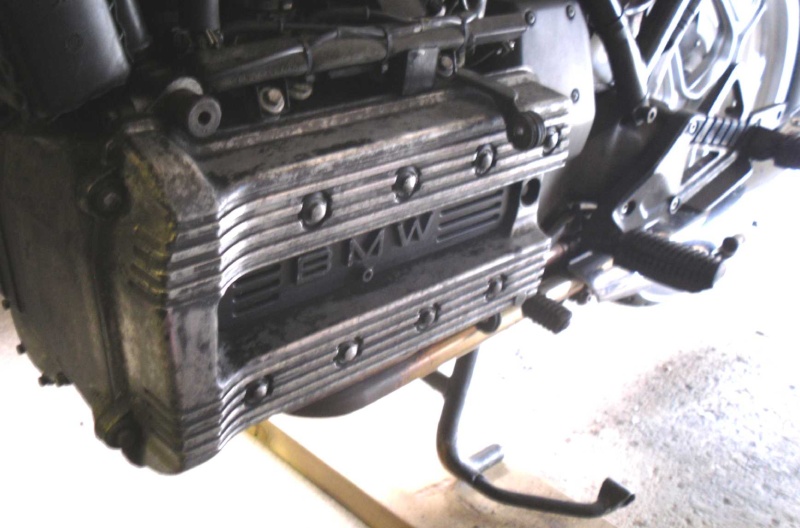
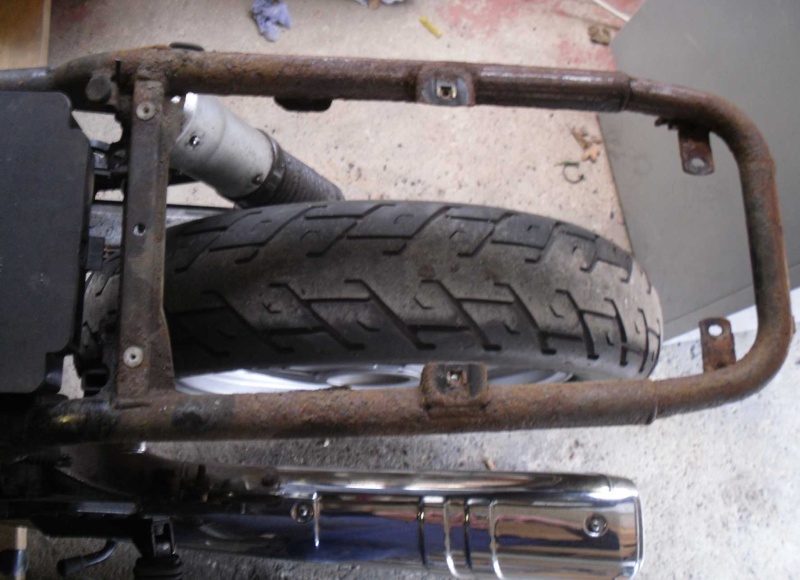
After a little thought I decided to start at the rear of the bike and work my way to the front. I stripped off the seat and tailpeice to reveal the rear of the frame which was quite rusty under the seat. The rest of the frame can be easily touched up anytime. So I spent the next 3 hours removing the rust firstly with a flap disc on my angle grinder then used files an old chisel and emery cloth to get a decent finish. I ended the day by giving the frame a coat of "KURUST" ready for my next stage....

There will be more to come over the following weeks / months which I am looking forword in taking on the challenge. I am finding it an easy and enjoyable bike to work on. Roll on the weekend........
After a little thought I decided to start at the rear of the bike and work my way to the front. I stripped off the seat and tailpeice to reveal the rear of the frame which was quite rusty under the seat. The rest of the frame can be easily touched up anytime. So I spent the next 3 hours removing the rust firstly with a flap disc on my angle grinder then used files an old chisel and emery cloth to get a decent finish. I ended the day by giving the frame a coat of "KURUST" ready for my next stage....
There will be more to come over the following weeks / months which I am looking forword in taking on the challenge. I am finding it an easy and enjoyable bike to work on. Roll on the weekend........


 You will have to wear sun glasses to look at your bike!
 .... You will be